This document describes a previous version of the SDK and is maintained for existing integrations. For new integrations, please refer to the current iOS SDK Documentation.
SDK v1 (Legacy)
Welcome to the Entrupy SDK!
Overview
This page documents how to use the Entrupy SDK to integrate Entrupy's sneaker authentication functionality into your Swift or Objective-C app.
For documentation of the general Entrupy API, see the Entrupy API docs.
Setup Steps
1. Registering your application
Contact developer@entrupy.com to get your app's bundle ID registered with Entrupy. Include details about how you plan to use Entrupy in your app. If approved, you will be issued a License Key to use the SDK and credentials to run the demo app.
2. CocoaPods
Integrating the Entrupy SDK with your app currently requires CocoaPods
to handle dependencies and versioning. Add the EntrupySDK pod in the
app target of your Podfile and then run pod install to add the Entrupy
framework to your application.
target \'app\' do
  pod \'EntrupySDK\' , \'X.X.X\'
end
Refer to the release page for version numbers and update the Podfile with the version you wish to download. If you aren't using CocoaPods, you can manually download and link the EntrupySDK framework.
3. Supported iOS Versions
The Entrupy SDK supports iOS 14.0 and up.
4. Importing the SDK
In Swift:
import EntrupySDK
In Objective-C:
#import <EntrupySDK/EntrupySDK.h>
5. Requesting Permissions
Entrupy requires camera access to capture images for authentication. To
request camera access from the user add
Privacy - Camera Usage Description to your Info.plist.
6. Authorizing Users
To run the services provided by the Entrupy SDK your app has to maintain a valid authorization token for the user. Authorization tokens have to be re-created when they expire. It is recommended that tokens are created or re-created if expired before calling other SDK methods to avoid additional latency.
Implement the steps shown here on your app and your backend as indicated. We also provide source code for an example backend server implemented in Python which you can access here.
6.1: Create the SDK authorization request from your app.
// Swift
// Generates a string to be passed to your app's backend for signing
let sdkAuthorizationRequest = EntrupyApp.sharedInstance().generateSDKAuthorizationRequest()
6.2: Process the SDK authorization request in your backend
Pass the sdk authorization request returned in the previous step to your
app's backend for signing. Your app's backend should have a route
called /authorize-entrupy-sdk-user or something similar which
determines if this user has provided a valid token for your backend and
is authorized to use the Entrupy SDK on your behalf. If they are
authorized this route should return the signed_auth_request which will
allow them to use the full functionality of the SDK.
Your app's request to your app backend should look something like:
POST /authorize-entrupy-sdk-user HTTP/1.1
Host: <Your backend server domain>
Authorization: Token [valid token for your backend server]
Content-Type: application/json

{
  "sdk_authorization_request": "example-sdk-authorization-request"
}
Your app's backend needs to do the following:
- Check that the provided token in the authorization request is valid to ensure that this user has already registered and logged in to your backend.
- Lookup information about this user (username, email, and other optional fields) based on the token in your account database.
- Create a signed sdk authorization request using this user's information. This is done by sending the SDK authorization request to the Entrupy API in order to generate the signed auth request, which will also create the user in our backend if it does not exist yet. Details on how to do this are in step 6.3 below.
- Return the signed authorization request to your app and use this to login the user to the Entrupy SDK.
6.3: Sign the SDK authorization request using the Entrupy API
To sign the sdk authorization request using the Entrupy API, make the following request from your backend server to the Entrupy API using your Entrupy API token:
Creates a signed authorization request for a user which enables them to login as part of your organization. Make sure to save the username which is returned, as you will need this in order to search tests created by this user.
All requests must send a
unique_user_id,sdk_authorization_requestfor the user. You can also optionally send afirst_nameandlast_namewith the request which will be used on certificates. The first call toauthorize-userfor a givenunique_user_idwill set the value for that user'sfirst_nameandlast_namepermanently for use with Entrupy authenticity certificates and for Entrupy support use. It is acceptable to include only one offirst_nameorlast_namedue to cultural differences in naming conventions. These values cannot be deleted or changed once set through the API.If the value for the
first_name, orlast_nameparameter differs between calls for a givenunique_user_id, the value will not be overridden and the API will return a 409 Conflict error code, though the response will still include an otherwise valid signed authorization request. The authorization request will still be usable as normal, but authenticity certificates generated for the user will use the initially set user information. The only exception is that if a value is no longer present after being set, or if it is set to null, a regular 200 OK response will be sent and the user information will be unmodified.If you need to change a user's information, please reach out to Entrupy via email.
Example request A:
POST /v1/integrations/authorize-user HTTP/1.1
Host: api.entrupy.com
Accept-Language: en
Api-Version: 1.3
Authorization: Token [Your organization's Entrupy API token]
Content-Type: application/json

{
  "sdk_authorization_request": "example-sdk-authorization-request",
  "unique_user_id": "example-user-id",
  "email": "user@entrupy-customer.com",
  "first_name": "User's first name",
  "last_name": "User's last name"
}
Example response A:
HTTP/1.1 200 OK
Content-Type: application/json

{
  "signed_authorization_request": "<signed authorization request to be passed to app>",
  "username": "OrganizationName-example-user-id"
}
Parameters:
sdk_authorization_request: a string containing the SDK authorization request for this user.unique_user_id: a string from 8-40 characters representing the user and can only contain the following characters:A-Za-z0-9@.+_\-.first_name: (Optional) The user's first name. Length must be ≤ 254 UTF-8 encoded bytes.last_name: (Optional) The user's last name. Length must be ≤ 254 UTF-8 encoded bytes.Request Headers:
Accept-Language: enApi-Version: 1.3Authorization: required tokenStatus Codes:
200: Valid request, result returned400: Incorrect headers or unique_user_id does not match the required format401: Route is unauthorized (Entrupy API token was invalid or not provided)409: A parameter conflicts with old information, a valid signed_authorization_request will be returned using the initial email and name.429: Rate limit has been exceeded. The Retry-After header will contain the number of seconds to wait before retry.
6.4: Log In to the SDK with the returned signed authorization request
// Swift
if let jsonObject = try? JSONSerialization.jsonObject(with: data, options: []) as? [String: Any] {
    if let signedRequest = jsonObject["signed_authorization_request"] as? String {

        //Implement the EntrupyLoginDelegate protocol
        EntrupyApp.sharedInstance().loginDelegate = self
        EntrupyApp.sharedInstance().loginUser(withSignedRequest: signedRequest)
    }
}
Login delegates
Implement the EntrupyLoginDelegate protocol.
// Swift
extension ViewController:  EntrupyLoginDelegate {

  //Invoked if the login was successful
  //Save the received authorization token expiry timestamp in the UserDefaults and reauthorize the user repeating steps 6.1 - 6.4 when the token is about to expire.
  func didLoginUserSuccessfully(_ expirationTime: TimeInterval) {
  }

  //Invoked if the login was unsuccessful
  func didLoginUserFailWithError(_ errorCode: EntrupyErrorCode, description: String, localizedDescription: String) {
    switch (errorCode){
          //Handle the error
          default:
              showAlert(title: "Error", message: localizedDescription)
    }
  }
}
7. Checking if the authorization token is valid
Check for authorization token validity before invoking the SDK
functions. The function returns a Boolean value of true if the token
is valid.
// Swift
if ( EntrupyApp.sharedInstance().isAuthorizationValid()) {
    //Make an SDK call
}
8. Fetching Configuration
This function is optional to implement and can be called once from the
viewDidAppear function of the View Controllers invoking the SDK's
startCapture/searchSubmissions method. It fetches configuration required
for performing these actions. If this is not explicitly called this will
be implicitly handled by the sdk before launching the capture workflow
or beginning the search causing a few seconds overhead.
The function takes a configType parameter which can be set to ConfigTypeProduction/ConfigTypeDebug. Set configType to ConfigTypeDebug* if you want a shorter capture workflow during development and always use ConfigTypeProduction in your release version.
Note: Submissions for authentication with the shorter configuration will always be assigned an Invalid result.
// Swift
if ( EntrupyApp.sharedInstance().isAuthorizationValid()) {
      EntrupyApp.sharedInstance().configDelegate = self

      // Set configType to ConfigTypeDebug if you want a shorter capture workflow during development
      EntrupyApp.sharedInstance().fetchConfigurationType(EntrupyConfigType.ConfigTypeProduction)
}
Config delegates
Implement the EntrupyConfigDelegate protocol.
// Swift
extension ViewController:  EntrupyConfigDelegate
{
    //Invoked if the config fetch was successful
    func didFetchConfigurationSuccessfully() {
    }

    //Invoked if the config fetch was unsuccessful
    func didFetchConfigurationFailWithError(_ errorCode: EntrupyErrorCode, description: String, localizedDescription: String) {
      switch (errorCode){
          //Handle the error
          default:
              showAlert(title: "Error", message: localizedDescription)
      }
    }
}
9. Starting an Authentication
Call startCapture in response to a user event such as tapping an
'Authenticate' button. This function launches Entrupy's capture workflow
modally on the current view controller.
Captures not completed within 2 hours will automatically be aborted and the error delegate will be sent.
// Swift
/* Create a sneaker metadata dictionary with the following fields

brand: the item's brand.
style_name: the item's full name. Example: "Jordan 1 Retro High White University Blue Black"
us_size(optional): the item's US Size. Example: 8, 8.5, 8.5Y.
upc(optional): the item's UPC.
style_code(optional):the item's style code (AKA "style id"). Example: 555088-134
customer_item_id(optional): the unique identifier you use for the item being authenticated (max length = 256). */

// brand and style_name are mandatory

let input: Dictionary = ["brand": "Nike", "style_name": "Air Jordan 1 Retro  High OG SP\'", "us_size": "9.5", "upc": "00195244532483", "style_code": "d07097-100", "customer_item_id": "sku-xyz"]

// Check if authorization token is valid
if ( EntrupyApp.sharedInstance().isAuthorizationValid()) {
  // Implement EntrupyCaptureDelegate
  EntrupyApp.sharedInstance().captureDelegate = self

  // Pass the sneaker metadata and a reference to the presenting view controller
  EntrupyApp.sharedInstance().startCapture(forItem: input, viewController: self)
}
Capture Delegates
Implement EntrupyCaptureDelegate protocol.
// Swift
extension ViewController:  EntrupyCaptureDelegate {

    // Invoked when the user successfully submits the item to Entrupy for verification
    // The delegate returns a result dictionary which contains the authentication result and an item dictionary which is the input dictionary supplied by your app to startCapture().
    // This result dictionary is decodable with `EntrupyCaptureResult` struct using Swift's `JSONDecoder`.
    func didCaptureCompleteSuccessfully(_ result: [AnyHashable : Any], forItem item: [AnyHashable : Any]) {
      do {
          let decoder = JSONDecoder()
          let jsonData = try JSONSerialization.data(withJSONObject: result)
          let parsedResult = try decoder.decode(EntrupyCaptureResult.self, from: jsonData)
          print("The item result is \(parsedResult.status.result.display.header)")
      } catch {
          print(error)
      }
   }

    // Invoked if the user quits the capture workflow without submitting the item for verification
    func didUserCancelCapture(forItem item: [AnyHashable : Any]) {

    }

    // Invoked if the capture timed out. Captures are automatically aborted if not completed within 2 hours.
    func didCaptureTimeout(forItem item: [AnyHashable : Any]) {

    }

    // Invoked if the item submission fails
    func didCaptureFailWithError(_ errorCode: EntrupyErrorCode, description: String, localizedDescription: String, forItem item: [AnyHashable : Any]) {
        switch (errorCode){
          //Handle the error
          default:
              showAlert(title: "Error", message: localizedDescription)
        }
    }
}
10. Handling Background Upload/Download Events
Important: Call interceptApplication from the AppDelegate's
handleEventsForBackgroundURLSession method to properly handle the
SDK's upload or download events that occured while the app was in the
suspended state. This will ensure that the app is woken up in the
background to complete the necessary post-transfer handling.
func application(_ application: UIApplication, handleEventsForBackgroundURLSession identifier: String, completionHandler: @escaping () -> Void) {
    EntrupyApp.sharedInstance().interceptApplication(application, handleEventsForBackgroundURLSession: identifier, completionHandler:completionHandler)
}
11. Flagging Results
Flagging enables users of your app to report an issue with the result assigned by Entrupy for an item. This directs the Entrupy support team to review the result and resolve the situation appropriately without the need for communication outside of the app or with a third party. Users should be directed to use the flag feature instead of resubmitting an item as an additional submission could incur additional charges and count towards the user's authentication quota.
Getting the flag details
Implement the getFlagDetailsForResult method to obtain the flag status
and eligibility for the result assigned to an item.
Within the completion handler, provide users with appropriate options based on the returned status:
- If the flag status is 'none' or 'resolved', and flagging is
allowed (
is_flaggableis 'true'), present the user with a 'Flag' option. - If the flag status is 'flagged', present the user with a 'Clear Flag' option.
- Otherwise, the item is not eligible for flagging and no option should be displayed.
It is important to note that not all result types are eligible for
flagging. Prior to invoking setFlag it is required that you check
getFlagDetailsForResult as attempting to set a flag value for an
ineligible item will trigger an error response.
// Swift
EntrupyApp.sharedInstance().getFlagDetailsForResult(withEntrupyID: <Entrupy ID>) { [weak self] result, error in
           guard let self = self else { return }
           if let result = result {
               do {
                   let decoder = JSONDecoder()
                   let jsonData = try JSONSerialization.data(withJSONObject: result)
                   let parsedResult = try decoder.decode(EntrupyCaptureResultStatusFlag.self, from: jsonData)
                   if (parsedResult.id == .none || parsedResult.id == .resolved) && parsedResult.is_flaggable {
                       //Show 'Flag' button
                   }
                   else if parsedResult.id == .flagged {
                       //Show 'Clear Flag' button
                   }
                   else {
                       //Hide buttons
                   }
                 } catch {
                   print(error)
                 }
           }
           else {
                if let error = error {
                    let nsError = error as NSError
                    let errorCode = nsError.code
                    switch errorCode {
                        // Handle the error
                        default:
                            showAlert(title: "Error", message: nsError.localizedDescription)
                    }                }
           }
       }
Setting the flag
Implement the setFlag method to flag or clear a flag on the result
assigned to an item. Assign a value of 'true' to the flag parameter to
submit a flag request and 'false' to revoke/cancel the flag request.
// Swift
EntrupyApp.sharedInstance().flagDelegate = self
EntrupyApp.sharedInstance().setFlag(false, forResultWithEntrupyID: <Entrupy ID>)
Flag Delegates
Implement the EntrupyFlagDelegate protocol.
// Swift
extension ViewController : EntrupyFlagDelegate {
  func didFlagResultSuccessfully(forEntrupyID entrupyID: String, forRequestedFlag flag: Bool) {
  }

  func didFlagResultFailWithError(_ errorCode: EntrupyErrorCode, description: String, localizedDescription: String, forEntrupyID entrupyID: String, forRequestedFlag flag: Bool) {
     switch (errorCode){
        //Handle the error
        default:
            showAlert(title: "Error", message: localizedDescription)
      }
  }
}
Receiving flag resolution notifications
Set up webhooks with the Entrupy API to allow your backend to receive updates when an item has been processed. See the webhook documentation for more details.
12. Searching Authentications
Note: This section shows you how to search authentications using the Entrupy SDK in your app. If you need to search authentications on your backend server then you should use the Entrupy API instead.
Implement searchSubmissions to fetch past authentications. The search
response is paginated into pages of 'paginationLimit' items each. The
maximum number of items that can be requested per page is 25. The
function takes a pageCursor parameter which determines the page that has
to be fetched. Pass an empty array for pageCursor to fetch the first
page. Repeat the searchSubmissions call, setting the pageCursor with the
"next_cursor" array received in the delegate response of the previous
call until all pages have been retrieved. If the "next_cursor" array
returned is nil or empty it indicates that the last page has been
reached.
Searching by date range
Set the startDate and endDate if you want to fetch authentications within a specific date range. This takes unix epoch timestamps as input. If you don't want to pass one or both dates, then set the input parameter to zero.
Applying Filters
You can apply search filters to restrict your search. The search filter is an array of dictionaries containing the fields "key" and "value"/"values".
Filtering by brands
// Swift
// Filter by a single brand
let filter:[Dictionary<String,Any>] = [["key": "properties.brand.id", "value":"nike"]]

// Filter by multiple brands
let filter:[Dictionary<String,Any>] = [["key": "properties.brand.id", "values":["nike", "adidas"]]]
Accepted values for brand are:
| Brand | Value |
|---|---|
| Adidas | adidas |
| Alexander McQueen | alexander_mcqueen |
| Asics | asics |
| Balenciaga | balenciaga |
| Christian Louboutin | christian_louboutin |
| Dior | dior |
| Gucci | gucci |
| Louis Vuitton | louis_vuitton |
| New Balance | new_balance |
| Nike | nike |
| Off-White | off_white |
Filtering by result types
// Swift
// Filter by a single result
let filter:[Dictionary<String,Any>] = [["key": "status.result.id", "value":"authentic"]]

// Filter by multiple results
let filter:[Dictionary<String,Any>] = [["key": "status.result.id", "values":["unknown", "authentic"]]]
Accepted values for results are:
| Result Type | Value |
|---|---|
| Authentic | authentic |
| Unidentified | unknown |
| Not Supported | not_supported |
| Under Review | needs_review |
| Invalid | invalid |
Filtering by flag status
// Swift
// Filter by flag status
let filter:[Dictionary<String,Any>] = [["key": "status.flag", "value":"flagged"]]
Accepted values for flag status are:
| Flag Status | Value |
|---|---|
| None | none |
| Flagged | flagged |
| Resolved | resolved |
Cascading filters
// Swift
// Filter by brands and result types
let filter:[Dictionary<String,Any>] = [["key": "properties.brand.id", "values":["nike", "adidas"]], ["key": "status.result.id", "values":["unknown", "authentic"]]]
Searching by customer item ID
let filter:[Dictionary<String,Any>] = [["key": "text_fields.sku", "value": "XXX"]]
// Swift
// Tells if all pages have been fetched.
   var lastPage = false
   // Used to load next page (current + 1)
   var nextPageCursor: [String]? = []
   // Limit of records per page.
   let perPage = 20

   func fetchAuthentications() {
        EntrupyApp.sharedInstance().searchDelegate = self
        let filter:[Dictionary<String,Any>] = [["key": "status.result.id", "value":"authentic"]]
        EntrupyApp.sharedInstance().searchSubmissions(at: self.nextPageCursor ?? [], filters: filter, startDate: 0, endDate: 0, paginationLimit: perPage)
   }
Search Delegates
Implement the EntrupySearchDelegate protocol.
// Swift
extension ViewController:  EntrupySearchDelegate {

func didSearchSubmissionsCompleteSuccessfully(_ result: [AnyHashable: Any]) {
    do {
      let jsonData = try JSONSerialization.data(withJSONObject: result)
      let decoder = JSONDecoder()
      let searchResult = try decoder.decode(EntrupySearchResult.self, from: jsonData)

      self.nextPageCursor = searchResult.next_cursor
      let items = searchResult.items
      if !items.isEmpty {
          // Handle UI refresh here, like updating table view or collection view
      }
      else {
          //Handle the case for no items found
      }

      if self.nextPageCursor == nil || self.nextPageCursor?.isEmpty == true {
          // Handle the case for the last page
      }
    } catch {
          print(error)
    }
  }


  func didSearchSubmissionsFailWithError(_ errorCode: EntrupyErrorCode, description: String, localizedDescription: String) {
      switch (errorCode){
         //Handle the error
         default:
             showAlert(title: "Error", message: localizedDescription)
      }
  }
}
13. Cleanup
Call the cleanup function on logout or before switching user accounts
// Swift
EntrupyApp.sharedInstance().cleanup()
14. Rate Limiting
The default rate limit for all routes used by the SDK is 100
requests/second for each user. If your app makes more requests then it
may be rate limited and you will receive the error code
ErrorCodeTooManyRequests. If you are rate limited, your
app should wait 1 second before retrying the request.The following routes have lower limits for security reasons:
/login:
This route only allows users to successfully login 5 times per minute, or 100 times per day. However, if you have a user which is used to test the login workflow, in automated scripts, or in unit tests which need to login frequently we can configure specific users with a higher login rate limit. When you signup for the Entrupy SDK, you will be provided with a test user that has this higher limit set.
15. Error Codes
| Error Code | Description |
|---|---|
| ErrorCodeOfflineAccess | Could not connect to the Internet. |
| ErrorCodeBadRequest | Incorrect headers, missing/incorrect parameters. |
| ErrorCodeUnauthorizedAccess | The authorization token is expired, revoked, request is malformed, or invalid for other reasons. |
| ErrorCodeForbiddenError | The bundle ID is invalid, re-using signed authorization requests. |
| ErrorCodeInternalServerError | An error occurred with the Entrupy Server. |
| ErrorCodeRequestTimeoutError | The request timed out due to a client-side delay. |
| ErrorCodeServerTimeoutError | The Entrupy server timed out. |
| ErrorCodeTooManyRequests | The rate limit has been reached. |
| ErrorCodeImageUploadError | The item photos submitted by the user failed to upload. The most common reason for this is packet loss on lossy networks. |
| ErrorCodeUserDeniedPermissions | The user denied required permissions. For example, the user denied camera access required to capture item photos. |
| ErrorCodeUnknownError | An unknown error occurred. |
16. Setting a Custom UI Theme
Create a class that implements the EntrupyTheme protocol to set custom
colors for the UI. You can set background, foreground and border colors.
//Swift
class Theme: EntrupyTheme {

    var borderColor: UIColor? = UIColor.lightGray
    var backgroundColor: UIColor? = UIColor.white
    var foregroundColor: UIColor? = UIColor.black

}
Set the SDK theme object at app launch or before all other SDK calls
//Swift
EntrupyApp.sharedInstance().theme = Theme()
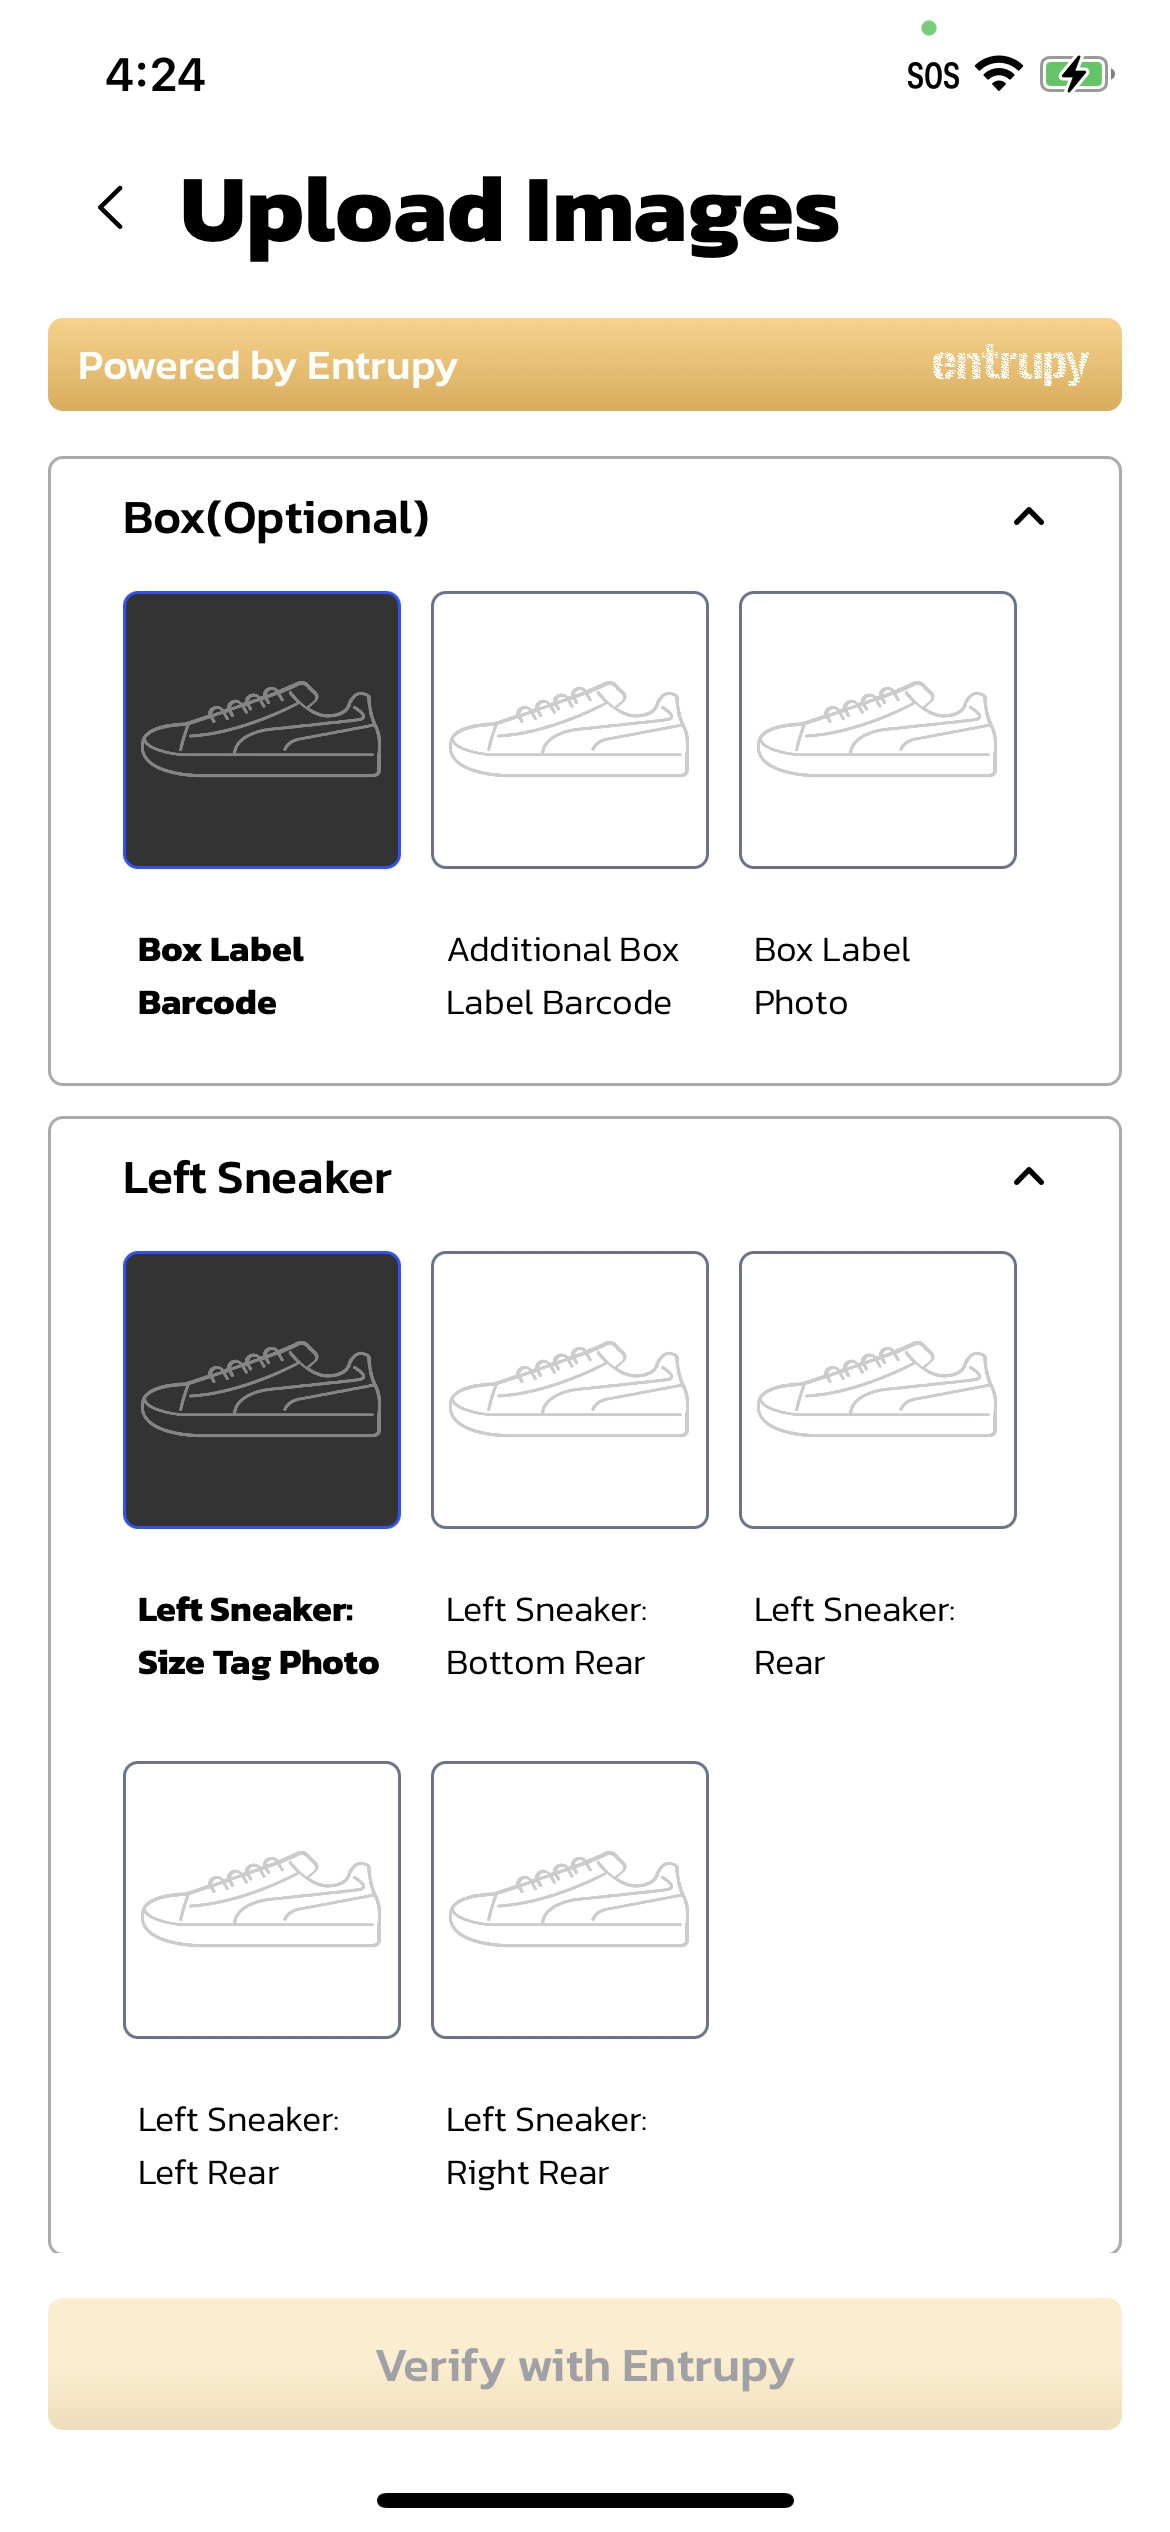 Custom theme
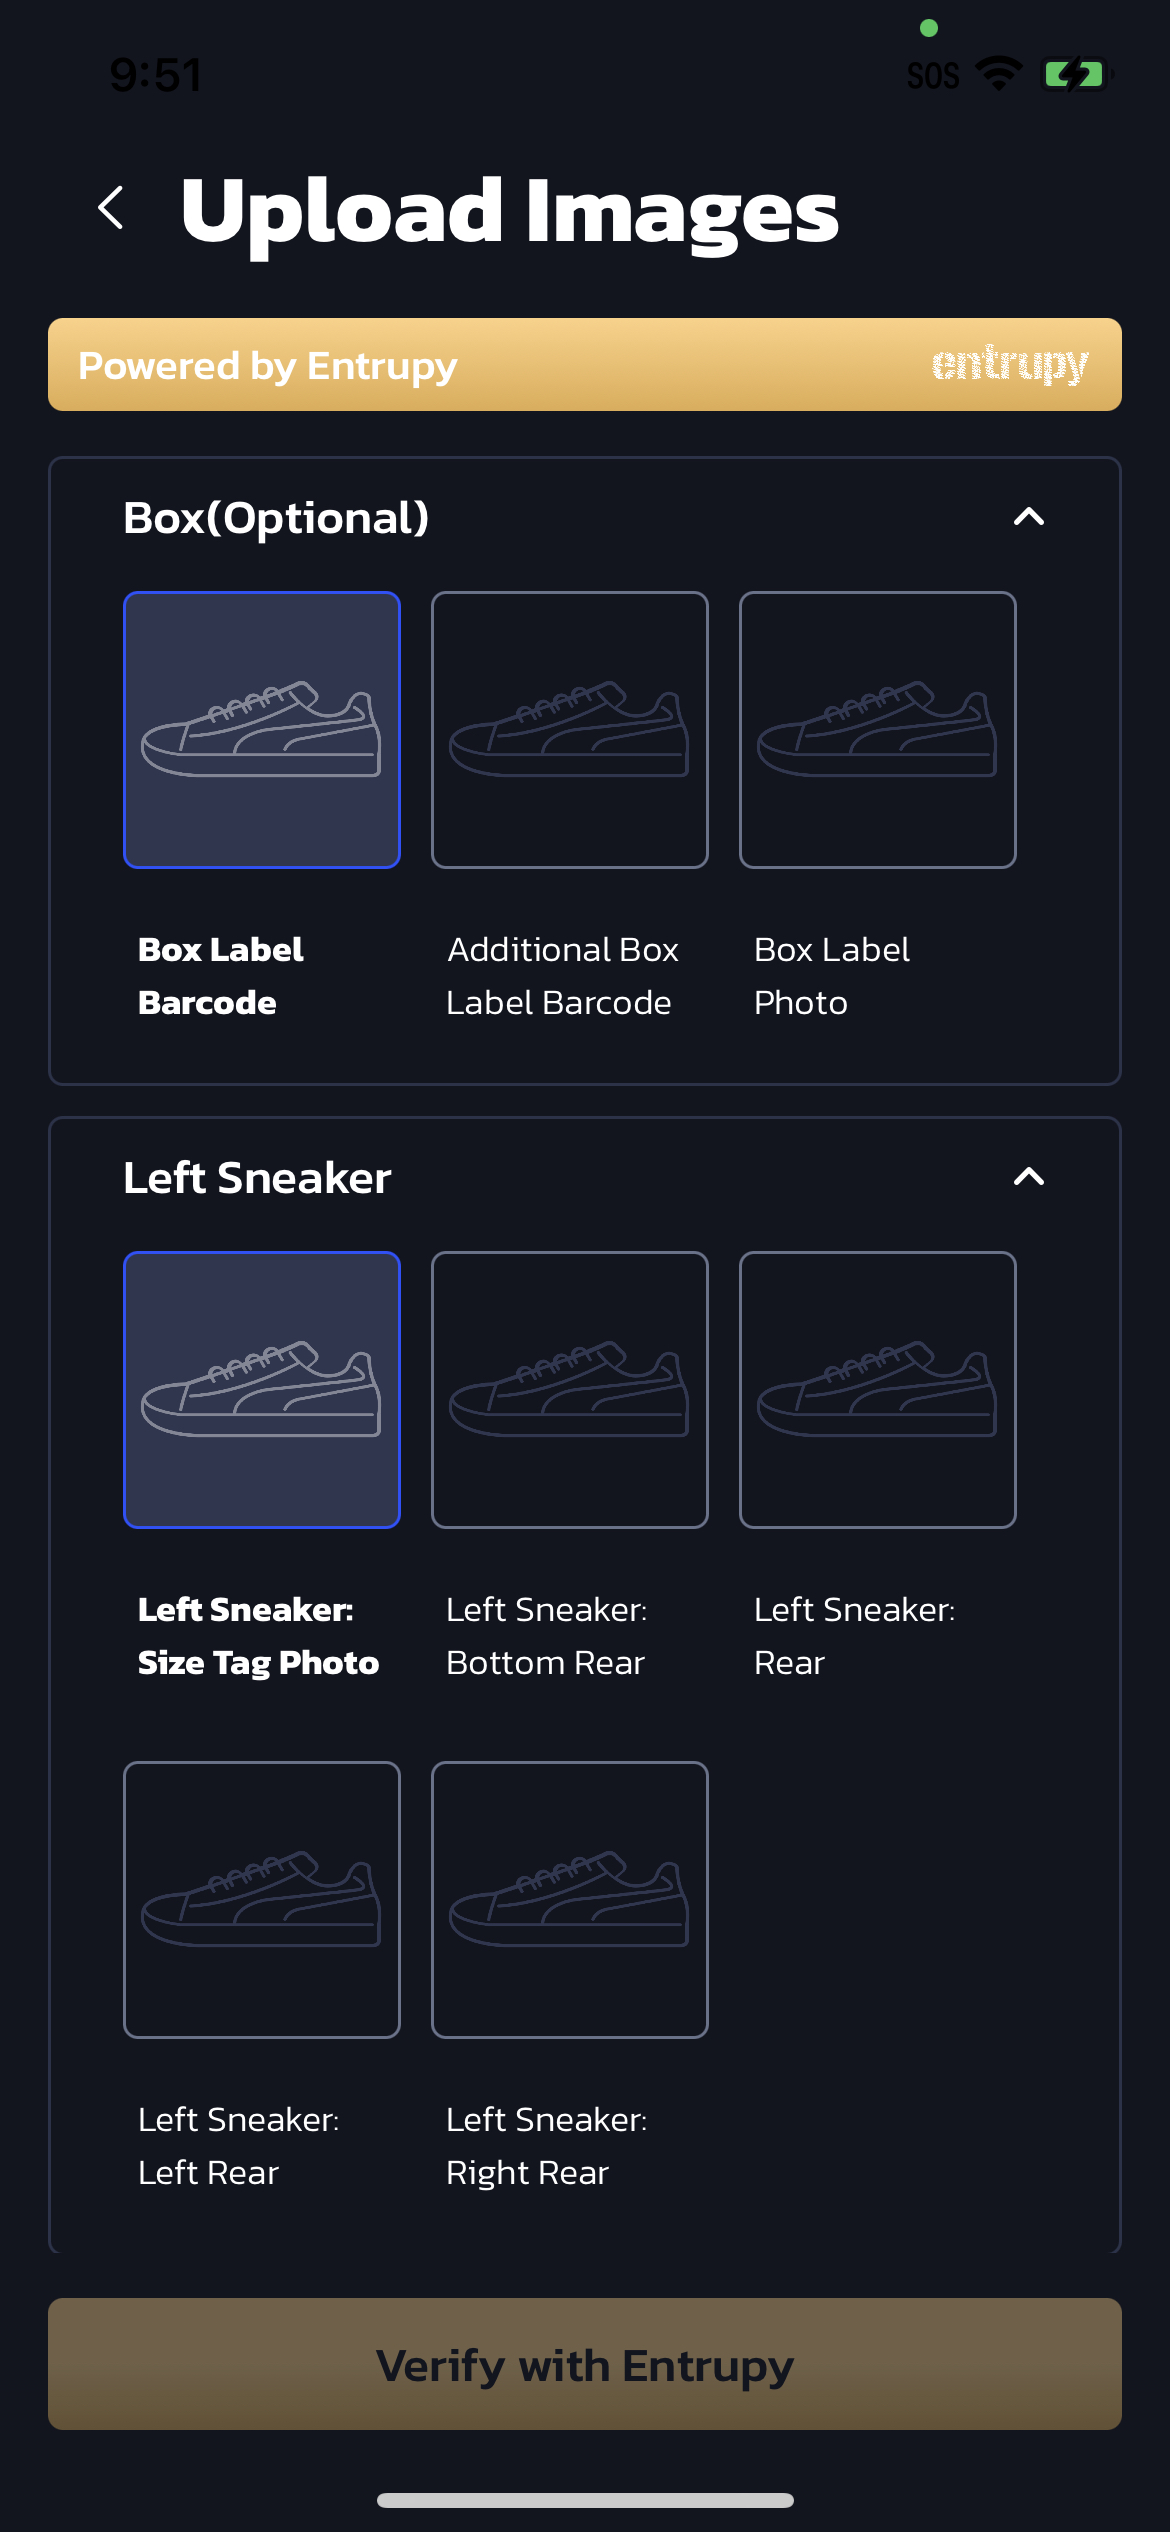 Default Entrupy theme
17. Testing on Simulator
Capturing images for authentication requires access to the device camera and hence you will not be able to go through the full workflow to submit an item for authentication using the simulator. It is recommended that you perform end-to-end testing on real devices.
18. Sample app
Download the sample app to check out SDK usage.
19. Backend Server - Implementing Search
Your backend server can use the Entrupy API in order to search authentications, check the result of an authentication, lookup an authentication by customer ID, and more. For full documentation, see Entrupy API docs.
To find an item with a particular customer item ID (The unique identifier you use for the item being authenticated) use the lookup route.
To find all submissions for a particular customer, use the search route and filter by that customer's username. You can also search by brand, result, and other fields.
Getting result update notifications
To receive result notifications for an item, set up webhooks with the Entrupy API to allow your backend to receive updates when an item has been processed. See the webhook documentation for more details.
20. Backend Server - Configuring Webhooks
Set up webhooks with the Entrupy API to allow your backend to receive updates when an item has been processed.
See the webhook documentation for more details.
21. Coming soon
- Auto-Capture assistance: AI powered auto-capture assistance will soon be available for most sneaker styles. This will make capturing quality photos for authentication extremely fast and easy.